

WTF is a Smash Burger, and why you need them in and around your mouth?
Because it is simply the superior way to make a burger....by a long shot

Smash burgers will ruin you for most any other burger. They are made in a way that maximizes the browned crust on the meat that is what gives a burger most of its taste. They are comprised of 2 patties, good old processed cheese and light onion smashed and cooked into the beef. You can only debate the onion, but most don’t. Some have forced me to give them various other cheese variants….none are better. Go with it!
I will cover the tools and methods I use. I make them frequently in some volume…and so will you if you taste one. Cottagers out there….this needs to be in your rotation.
One of the best parts is that they get rid of any of the stress of making a good burger reliably the traditional ways….mixing ground beef with eggs, bread crumbs, mystery seasoning etc etc….not being dry, too thick, weird shapes after cooking etc.
Smash burgers are always the same, really freaking good and made with plain old ground beef.
Burger snarfer: “what did you put in the meat, its amazing?”
Me: “Ground beef”
Burger snarfer: “no, really…what is mixed with it?”
Me: ”ummm… air…….some salt and pepper”
The only downside might be for the chef….because this is not a process of incinerating a pile of patties, throwing them on a plate and calling people to dig in. They are done and served on the fly so they are hot and gooey every time.
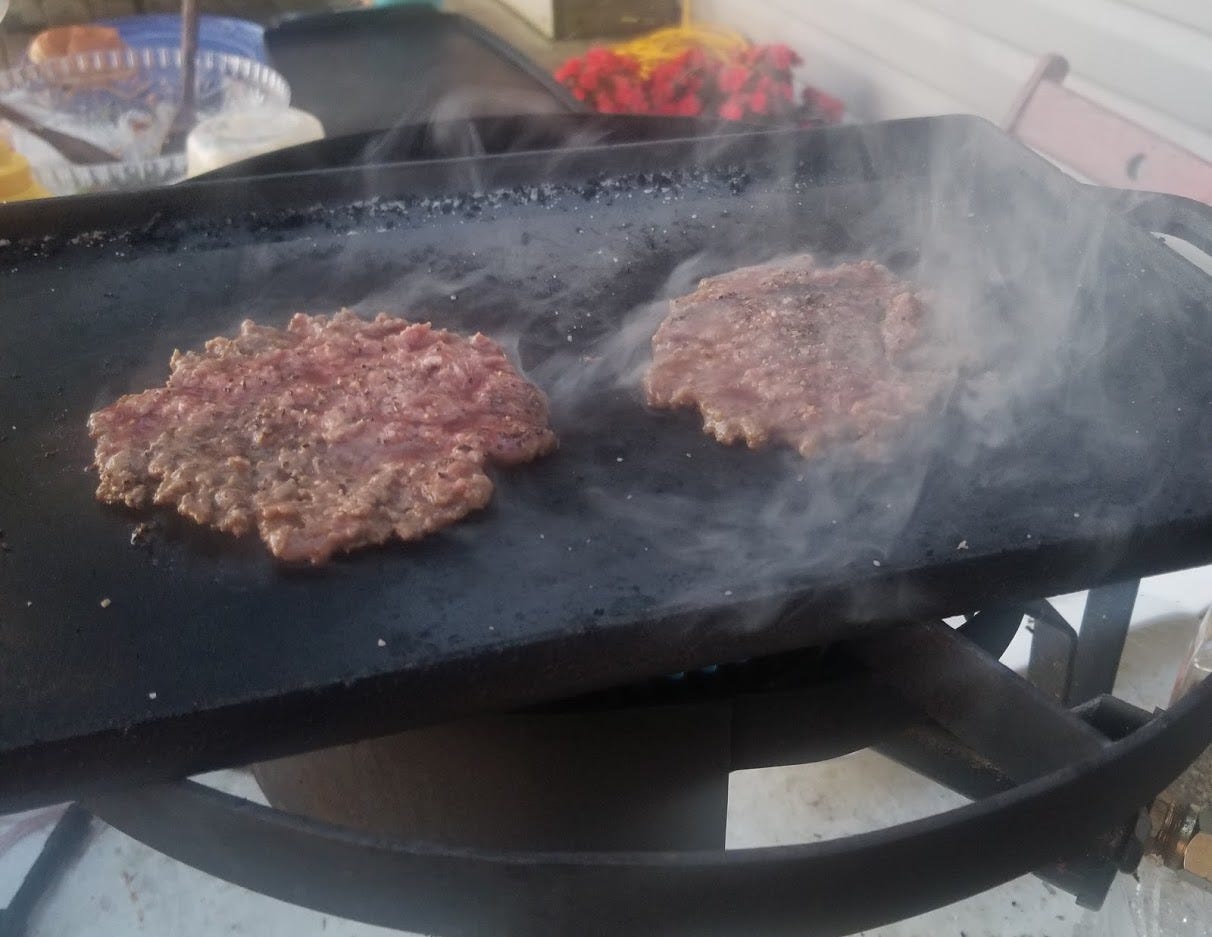
The method uses a very hot flat surface that has significant heat retention (a thin frying pan isn’t going to cut it) such as cast iron or a very thick flat griddle. You smash a ball of 20-25% fat ground beef ball into a very thin patty with a strong flat implement to about a 1/4 inch or thinner. That puts maximum meat bits into contact with the high heat and creates a flavor like no other. You do two patties to get even more surface area for that maillard reaction. Also key is Kraft / American processed cheese. ick you say?!….no….it is absolutely key as you will soon experience.
They are best made outside as you will certainly make a hell of a mess inside and set off smoke detectors (people usually try this once after we feed them a smasher). I have developed a set of equipment that is relatively dedicated to making them outdoors….which we do many times a year because they are so popular with visitors or guests. The burner and griddle can be used for many other things and is great to have around in general for other cooking duties.
At the end of the page I’ll throw out some short cuts to allow you to give it a try without making any new investments (yet). One last point, this can be done on a tailgate, in a park, at an event because the gear is very portable (unlike a big BBQ). Take the show on the road. We have won best food at a local fundraiser 2 years in a row doing slider versions of these. For some reason people also love watching and interacting with the process. That or its my crazy wit and outgoing nature. (inside joke)
Equipment
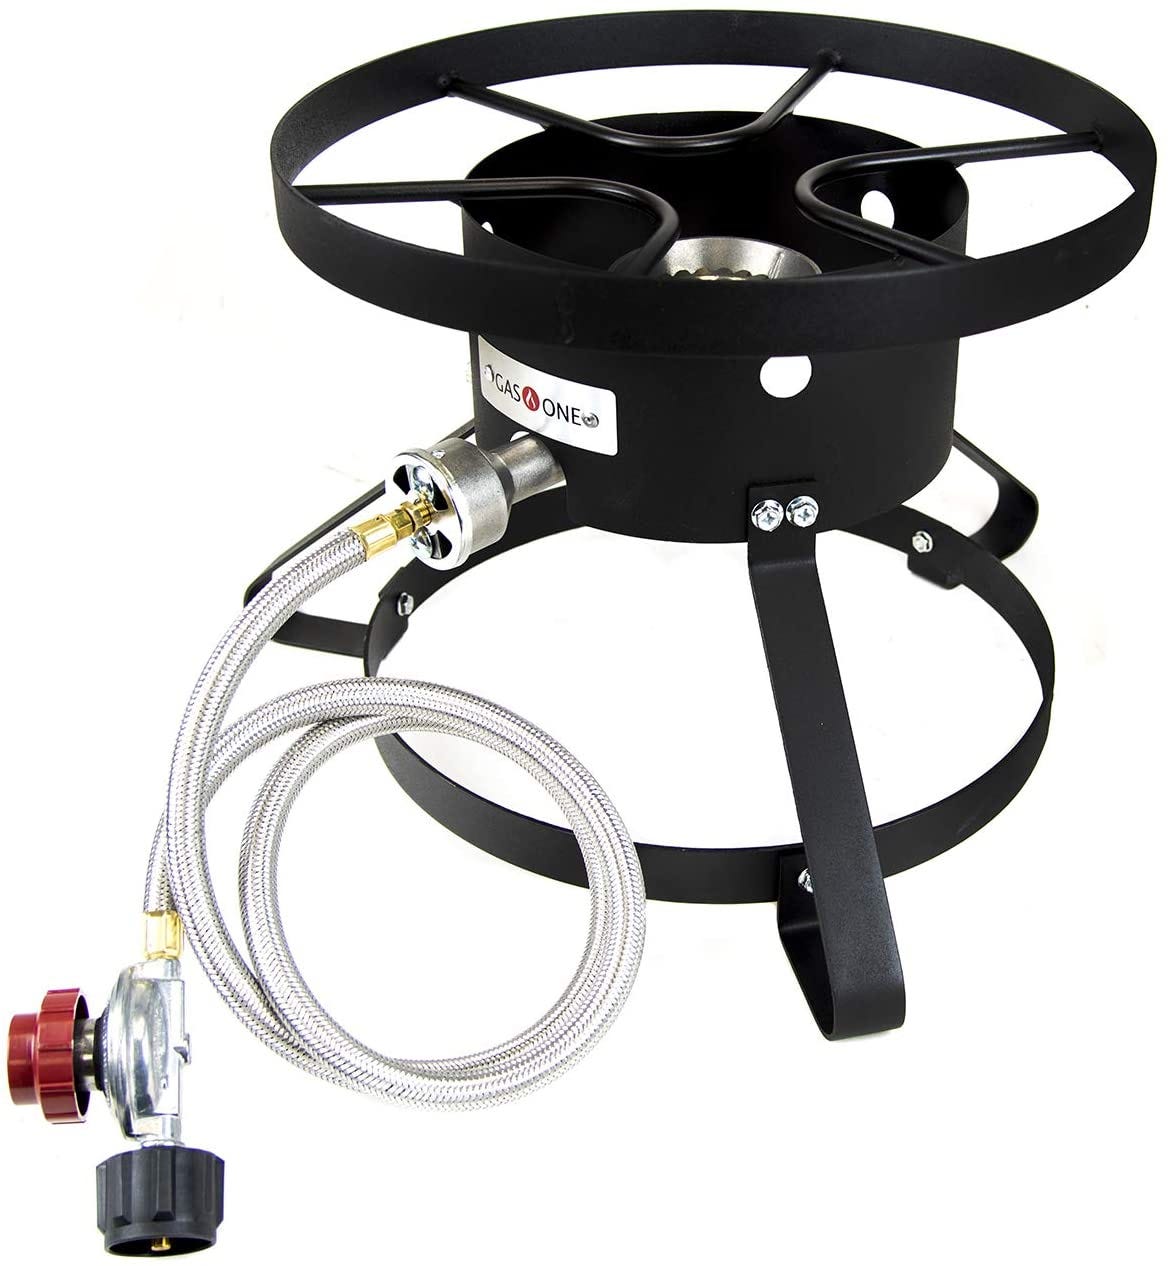
The heat: Portable burner. Not only great for smash burgers, these are super useful to have around, deep frying outside, searing reverse sear steaks, boiling large amounts of stuff (corn, tomatoes, soup etc). Canadian tire carries a version for the Canucks.
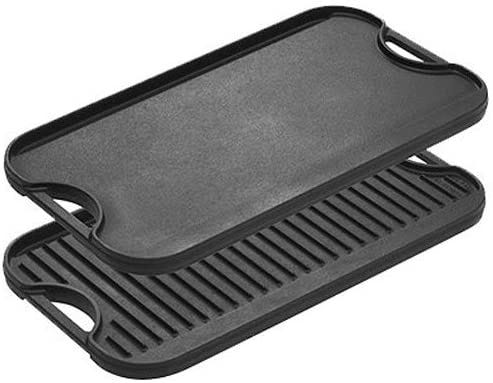
The cooking surface: Griddle. I started with a really cheap one from Princess Auto but the surface was crap and warped. This one is really good and made by Lodge. Massive improvement. The thickness of almost half an inch holds a lot of heat and the browning is superior as a result. You also want as smooth a surface as possible for optimal scraping of the browned bits. (see further on). I did start my smash career with a cast iron frying pan before the flat griddle.
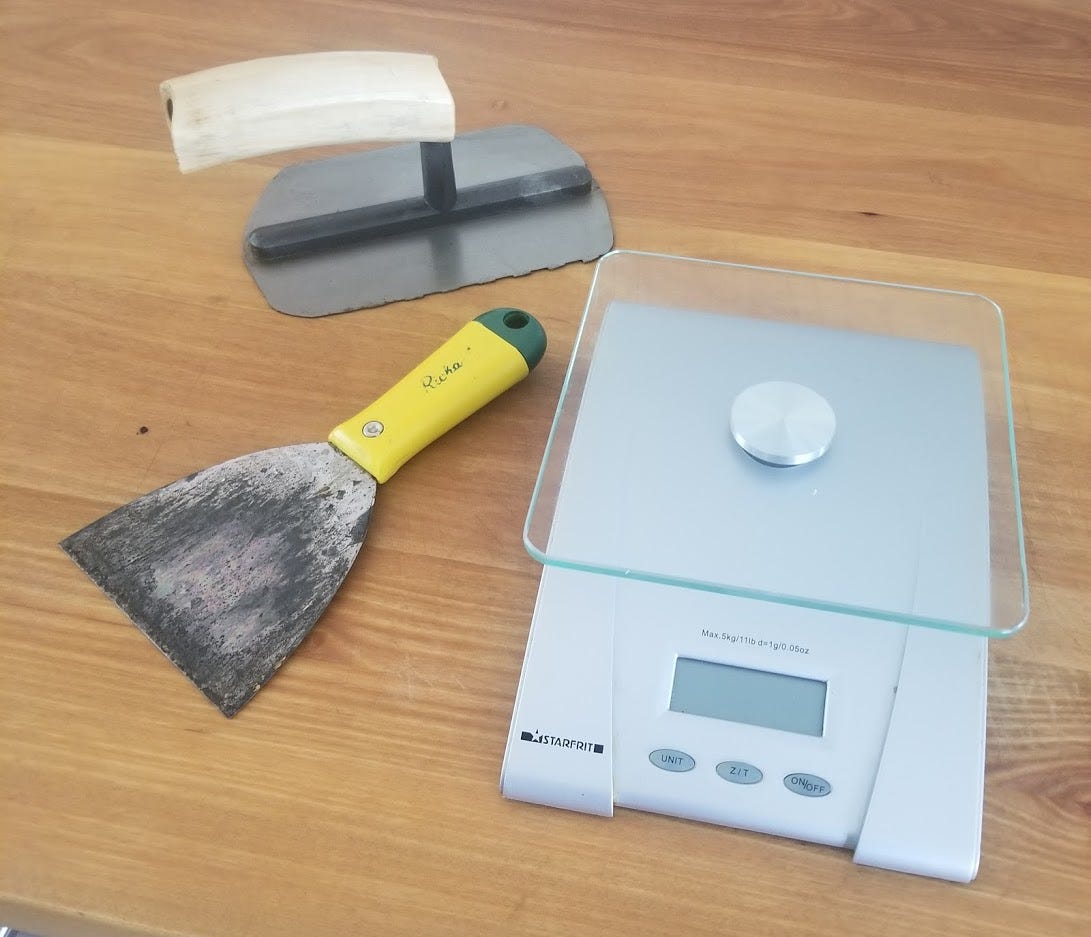
The tools: Burger Smasher Trowel. You can’t use a spatula because it is hard to put enough force into the smashing…and it will also bend over time. These tile tools keep a cool wood handle and allow for the pressure to come directly from above when you smash. They come in a large rectangle (made for spreading tile mortar after all) which you can cut down with tin snips easily if you need to fit into a cast iron frying pan with sides. Trimming around the edge also gets rid of the notches and rounds the corners. Mine is seen further down.

Scraper which is a key tool for getting all the brown bits scraped up and delivered to the bun. I actually sharpen the edge of mine once in a while. You need to get under with force to keep all the goodness. This is also what you use to launch the burger into the bun directly. People love seeing a paint scraper serving their food.

EDIT: I have since updated my two basic implements of smasher and scraper to stainless steel. These are a bit too Home Depot and don’t look appetizing, and I have had “food grade” shaming on them. These have stayed nice and shiny and clean looking and are just nicer to use.
Sorry, Amazon Canada links:
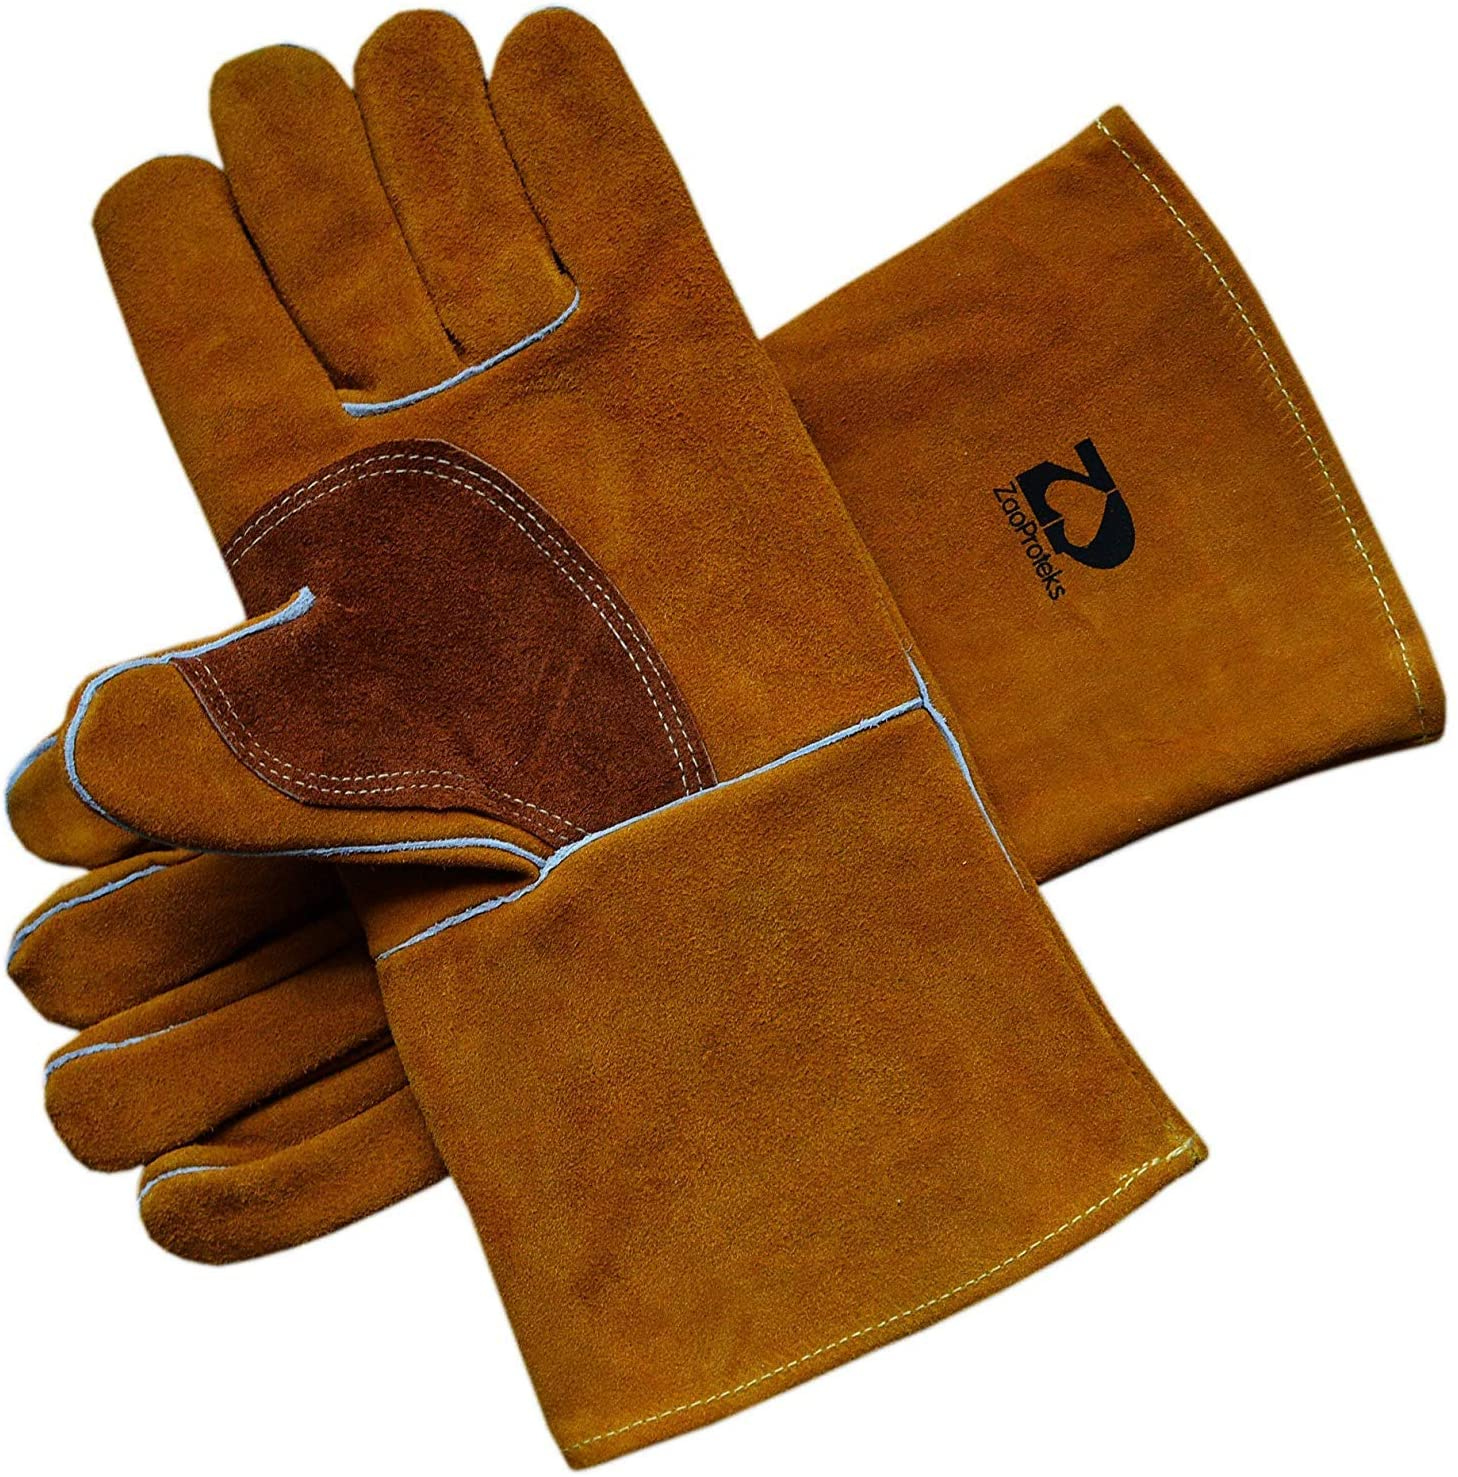
Heat protection for the hands. If you are making more than a few or more than once then you will want these welding gloves. Sometimes you get flair ups and the handle on the scraper is short so you are near the heat. Also very handy to have around for BBQ duty. I have multiple pairs. They are far more manly than oven mitts….and that is important.
Ingredients
4oz per burger of 20-25% fat plain old ground beef. We use Costco generally but anything will do. Most men will eat 2 to 3 burgers and women 1, sometimes 2 once they realize that 1 just won’t do because the pleasure ends abruptly. It usually goes like this: “nope, I’m stuffed….can’t eat another”….10 mins later “wellllll…if everyone has had one already….I could do another.”
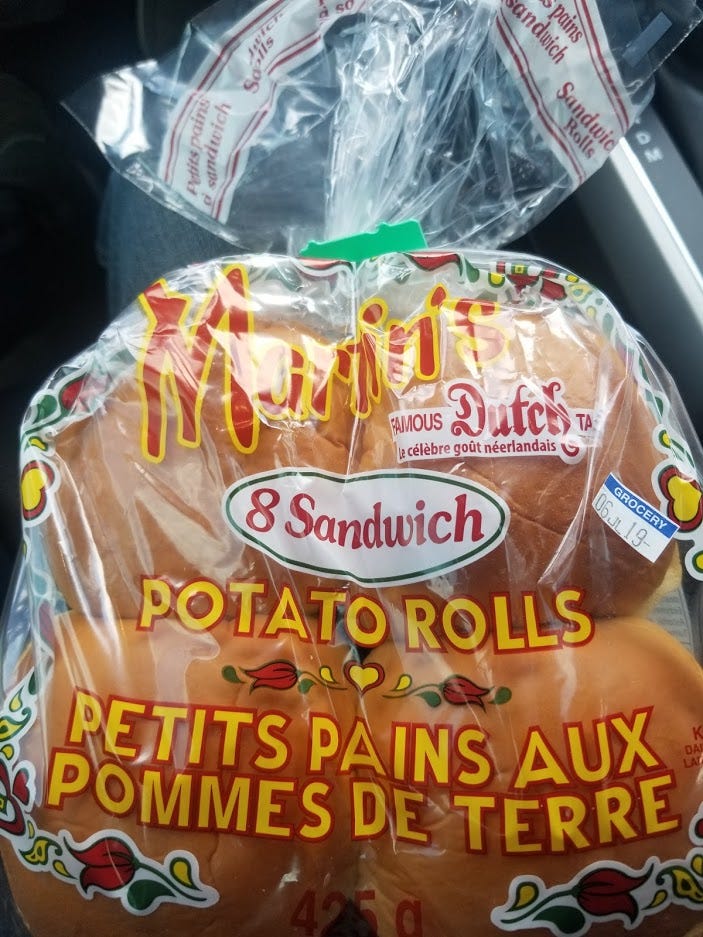
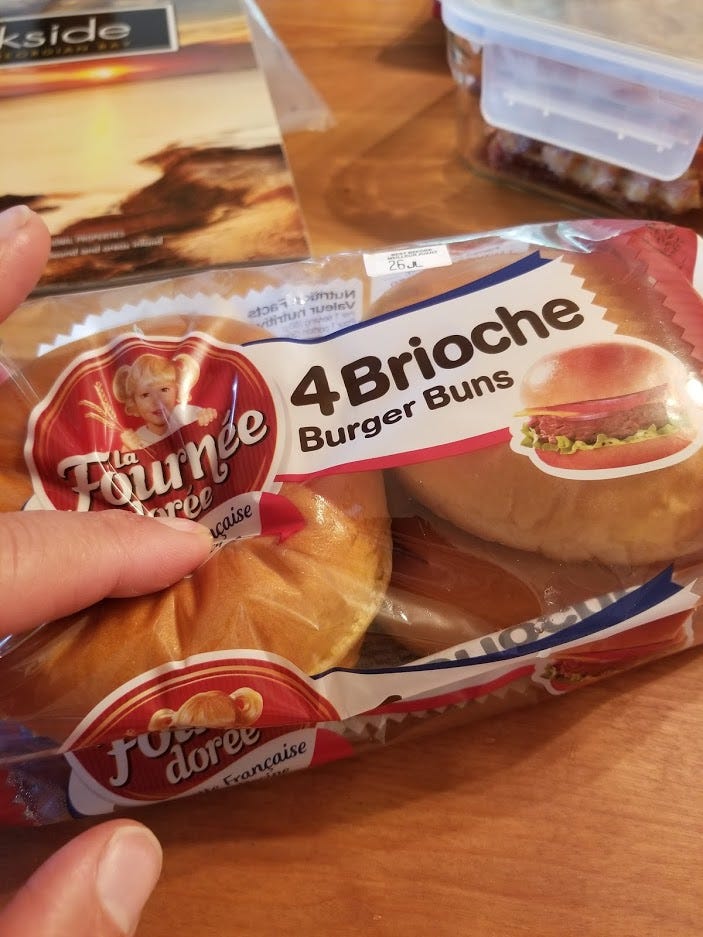
The right buns are really important. These burger patties even doubled are smaller than your average Chernobyl burger so a big kaiser bun or something like that will dwarf them. They also need to be a type that resists moisture and retains shape etc. You must use Brioche or Martin’s Potato buns (both are great). Toasted and buttered. We set up a hot plate and toast on the fly when doing many but frying pan on the stove works too.

Standard American cheese / Kraft Singles (you know the ones in plastic normally used to make grilled cheese sandwiches)
Bacon
1 Onion finely diced
Quality Dill Pickles sliced
Garlic Aioli (this stuff is a game changer, recipe at the end)
Butter for the buns
Salt and pepper. Pre mixed in a shaker is really good.
Rest of the toppings are up to you but we stick with the common yellow mustard and ketchup. We do not do tomatoes as they tend to make stuff a bit too wet. These are already messy.

Preparation:
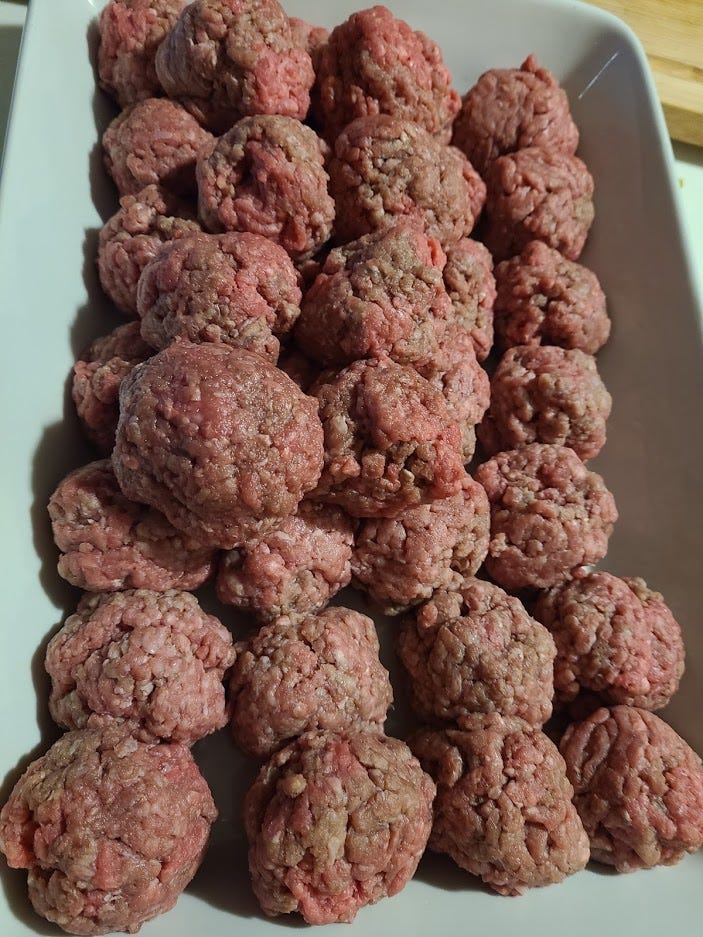
loosely ball 2 x 2 ounce balls of ground beef for each burger. I use a kitchen scale to get them all the same. Loose means they get lacey and irregular when smashed which means more surface to brown.

I like to half peel each cheese square of it’s plastic so they are ready to deploy but still on the plastic and separated.
Finely chop or mince an onion. You want very fine bits
Pre cook bacon strips and after cut into 2 inch pieces
Make the Garlic Aioli….not necessary but has been voted over and over as killer on these. Easiest in a squirt bottle but ok in a bowl with a spoon.
Making the Magic
Have around your cooking surface and within easy reach. the beef balls, the cheese, the onions (small spoon with them), the bacon and of course your tools.
Assign the bun toasting and buttering to someone you can trust not to get distracted or too drunk. They should be close by and also near condiment row because that’s where assembly starts.
We make and serve as fast as they come off the griddle. Have the next person up pre top their toppings onto the bottom of the bun (bottomings) so they are ready to receive the goodness right onto the top of the bottomings that are on the bun (got that?). Launching onto an empty bun is just wrong and delays things and stuff gets cold.
Start with a 500-600 degree surface. A splash of water will sputter and evaporate very quickly.
Drop about half a teaspoon of the onion in two spots 8 inches apart….stir them a bit to spread them into patty sized spots. Then place two beef balls on top of each onion spot. Take your smasher and smash! Push down evenly to smoosh them into 1/4 inch or less patties. Really push them, wiggle the smasher a bit and slide toward you to get a clean release or the meat will stick to the trowel.
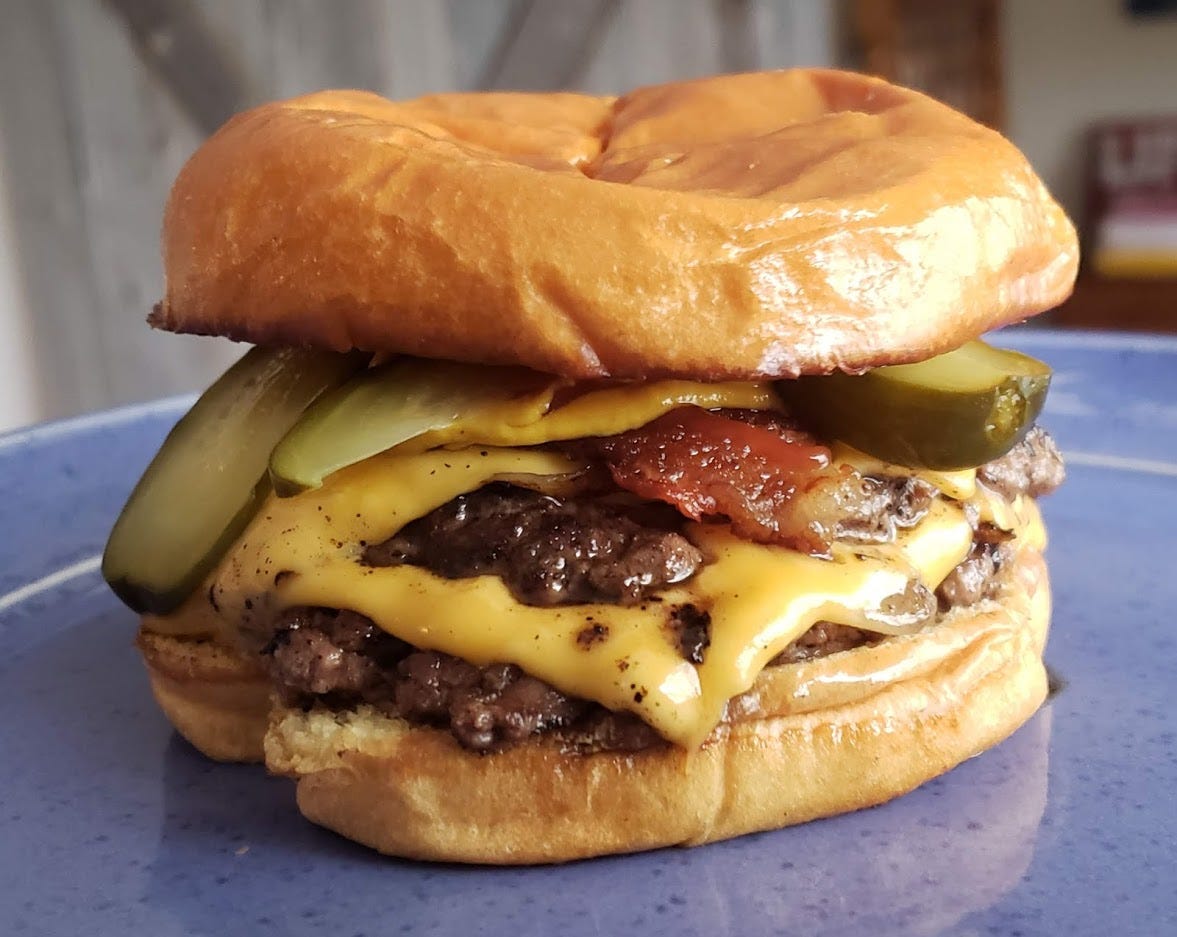
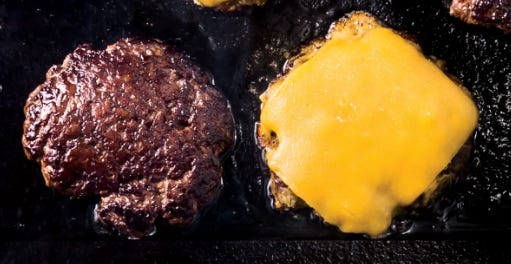
Dust with salt and pepper and smash again (having in a pre mixed shaker really helps). After about 30 seconds (depending on heat) take that scraper and aggressively scrape each patty up and flip. Really scrape under them like you are trying to cleanly get them off the surface. I sometimes scrape from each side of the patty to get all the bits up. You know the timing was right if you have nice brown crusty surface and almost burnt onions. (the picture above is pre-flip) There is no “wrong”, only degrees of goodness. Once flipped, drop a slice of cheese on top of one patty and add two pieces of bacon on top of the cheese.
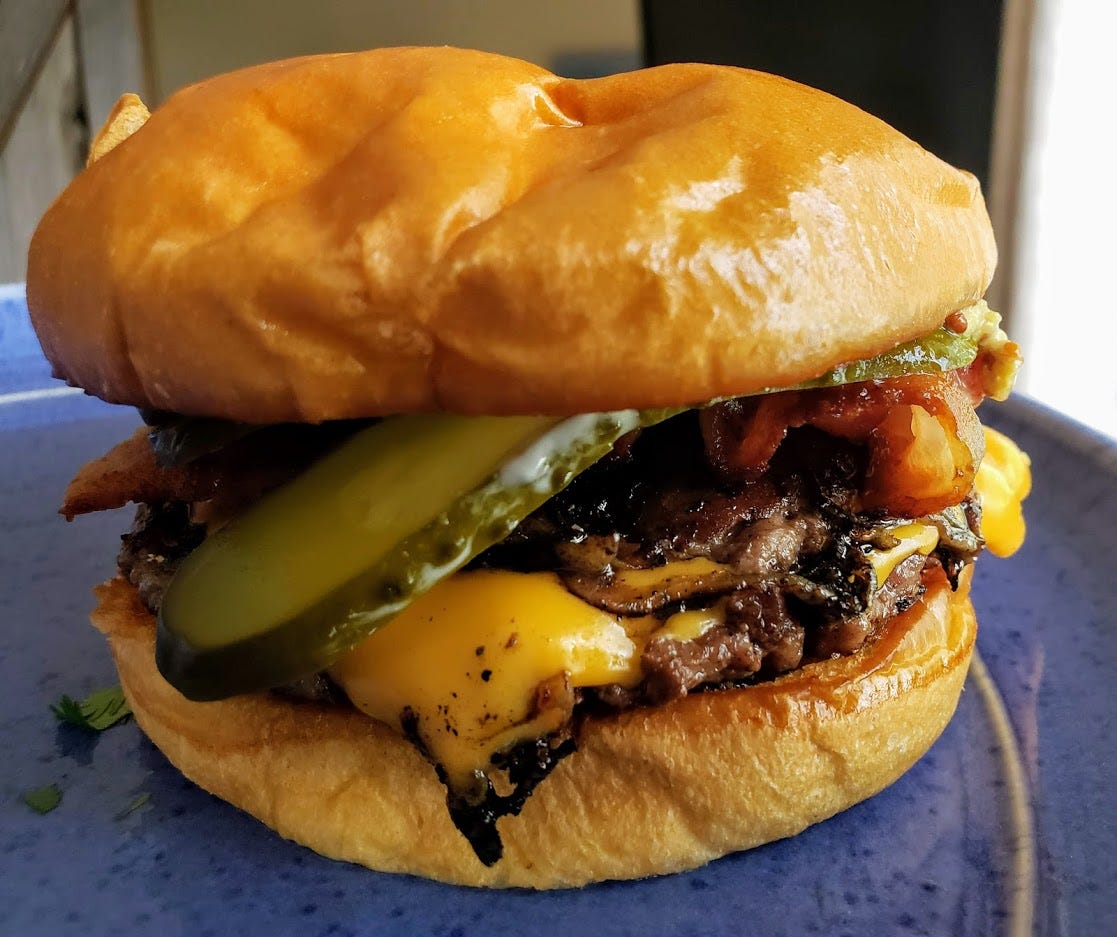
Then scrape the other patty up and deposit it on top of the other and its bacon and cheese. Then scrape the entire stack up and deposit on the waiting bun and bottomings. What you have delivered is two perfectly cooked patties, melty cheese and bacon with caramelized onions all in one. Repeat and wait for the love.
If you want to cook them all at once and eat together, take orders, cook and build them all and wrap individually in tinfoil and mark with a sharpie. They are even better if steamed for a while in their own vapors.
But I don’t want to buy all this stuff yet!
ok ok….. Same ingredients with basic equipment below:
Cast iron frying pan. You need to bring the heat with some heat retention. Meat sucks the heat out of the cooking surface really quickly. Cast iron has more mass to resist this.
Solid metal spatula (no slots)
Something you can push down on the top surface of the spatula with to get a true smash. Maybe bottom of a heavy glass or something like that. You need pressure from directly above.
Something to scrape with that has a straight thin edge. Needs to be metal and sharp-ish. A wide paint scraper etc.
Indoor stove top, doors open and smoke detector covered……or BBQ side burner. Might be able to put frying pan onto a BBQ on the grill if you can get it hot enough.
Thank me later.
Garlic Aioli (The godly creation of our friend Serena)
1.5 cups of mayonnaise
8 cloves of garlic, minced
4-5 tbsp of lemon juice
1-1.5 tsp of salt
1/2-1 tsp or ground pepper
1-3 tsp of chipotle
Sometimes she adds a bit of cayenne if a little heat is wanted but that's the general proportions.
Are you aware that tools designed for constructior purposes may not be "food safe"? There may be trace amounts of lead, cadmium, and other toxic metals in those trowels and scrapers that can leach into your food, expecially in high-heat cooking. I'd get some utensils actually designed for cooking, and not use tools made for spreading mortar.
Soooo excited for next round of smashies!! He's not lying when he says they will ruin you for any other burger though - beware.